Standard Install
The standard install runs the core Honeyframe services (Platform, plus optional Hub Data Intel and Hub Cloud tiers) on a single Linux host with PostgreSQL local or remote. Provisioning is driven by the setup-customer.sh script.
Before you start, confirm System Requirements and have:
- A reachable PostgreSQL instance (host, port, role with
CREATEon the database). - A registered DNS record pointing at the host (or a
*.nip.iowildcard if you only have an IP). - An empty install directory you control. Default is
/opt/dataintel; the convention going forward is/opt/honeyframe(the binary will be renamed in v0.0.28). - An empty data directory. Default is
/data/hubstudio.
Step 1 — Extract the tarball
Download hub-platform-v0.0.27-linux-x86_64-compiled.tar.gz from the release server, then:
tar xzf hub-platform-v0.0.27-linux-x86_64-compiled.tar.gz -C /opt/
mv /opt/hub-platform-v0.0.27 /opt/honeyframe
cd /opt/honeyframe
./iaas/scripts/install-from-tarball.sh
install-from-tarball.sh lays out the directory and stages the bundled binaries. It is non-destructive — re-run safe.
Step 2 — Write install.conf
Copy install.conf.example and edit the YAML in place:
cp install.conf.example install.conf
vi install.conf
The example file is fully commented; the minimum required sections are customer, tiers, database, domains, and admin:
customer:
  name: acme                         # slug used for systemd, nginx, DB
  display_name: "Acme Corp"          # shown in UI

tiers:
  - paas                             # Hub Data Platform — always required
  # - saas                           # Vertical App (your domain-specific UI on top of PaaS)
  # - iaas                           # Hub Cloud (server mgmt, billing)

database:
  host: db.example.com
  port: 5432
  name: honeyframe
  user: honeyframe
  password: "<set me>"

domains:
  paas: platform.acme.example.com
  # saas: hospital.acme.example.com  # only if saas tier is selected
  # iaas: cloud.acme.example.com     # only if iaas tier is selected

admin:
  email: ops@acme.example.com
Step 3 — Run setup
./iaas/scripts/setup-customer.sh --yes --config install.conf
The --yes flag (added in v0.0.27) auto-confirms prompts; it is also auto-enabled when stdin is not a TTY (e.g. under nohup or CI). The script loads the config and prints a summary banner before doing any work:
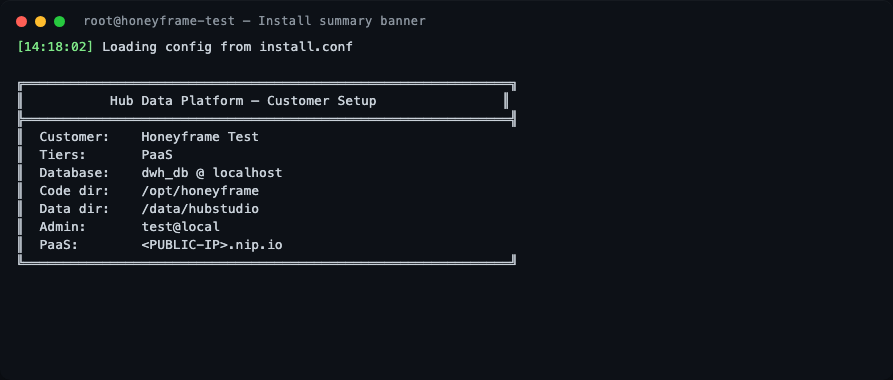
The script then runs through 10 stages.
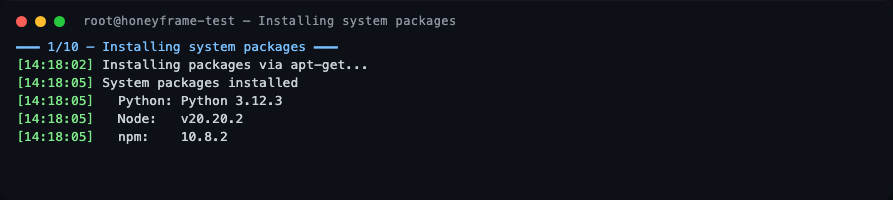
Stage 1 — System packages
nginx, postgresql-client, unzip, and Node.js 20 are installed via apt. On a freshly-booted cloud VM this is where you may see a long pause: the script waits up to 10 min for unattended-upgrades to release the dpkg lock before proceeding. This is normal, not a hang.
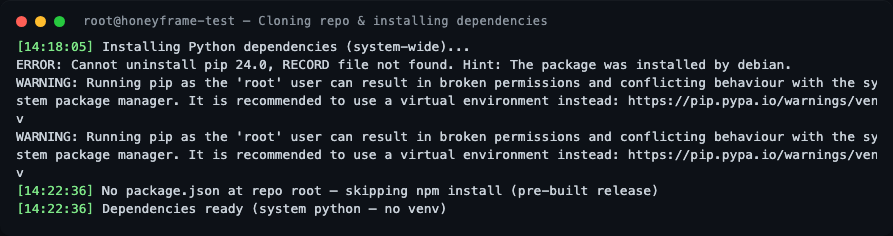
Stage 2 — Dependencies
If the install dir was pre-populated (e.g., from the tarball), the git clone is skipped. Python dependencies are installed system-wide. There is no virtual environment by design — see Custom systemd Units for the rationale.
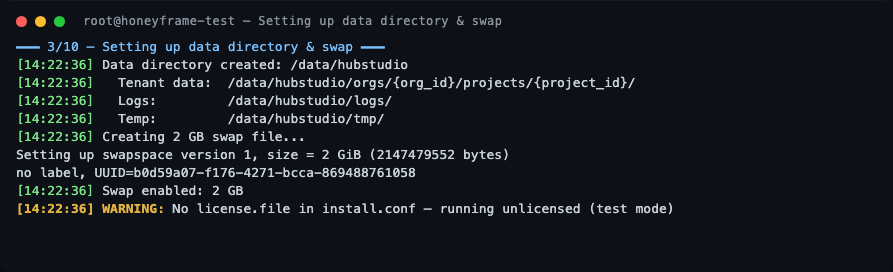
Stage 3 — Data directory and swap
The data layout is created under /data/hubstudio (or whatever data_dir you configured). A 2 GB swap file is also created — Honeyframe is fine on 4 GB RAM hosts because swap absorbs occasional Python spikes during dbt runs.
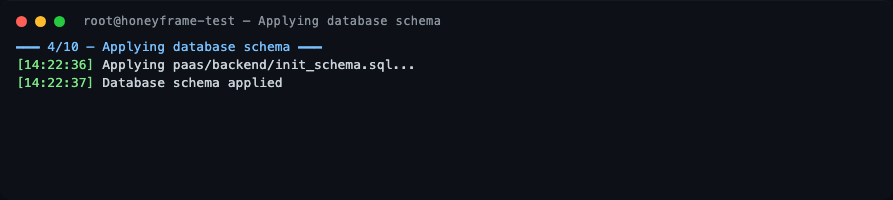
Stage 4 — Database schema
The paas/backend/init_schema.sql file is applied to your PostgreSQL. Two schemas are created: hubstudio (operational data) and dataintel (observability data — yes, the schema name will stay even after the CLI rename).
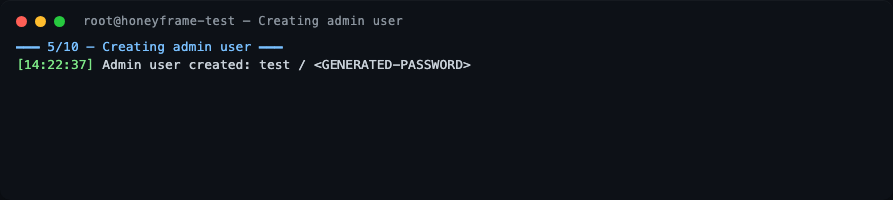
Stage 5 — Admin user
A default superadmin is bootstrapped. The username and one-time password are printed to stdout — capture them before the terminal scrolls. You will be forced to change the password on first login.
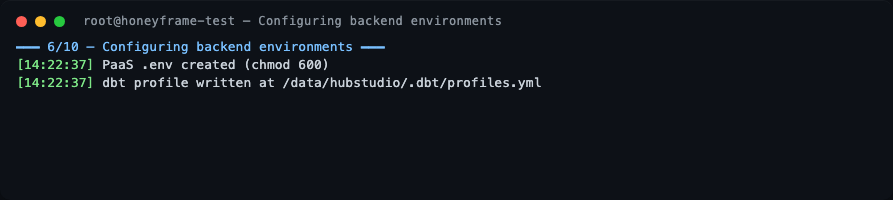
Stage 6 — Backend environment
PaaS .env files are written with mode 0600. The dbt profile is rendered to /data/hubstudio/.dbt/profiles.yml.
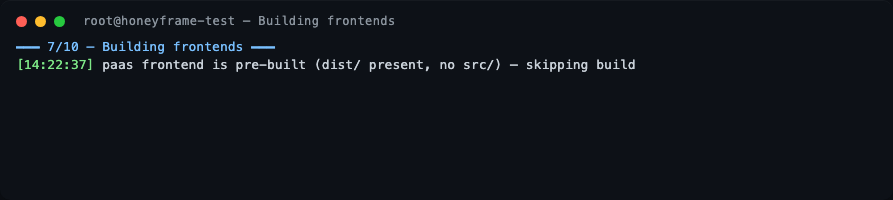
Stage 7 — Frontends
If the tarball already contains pre-built dist/ directories (the default for a release tarball), the Vite build is skipped.
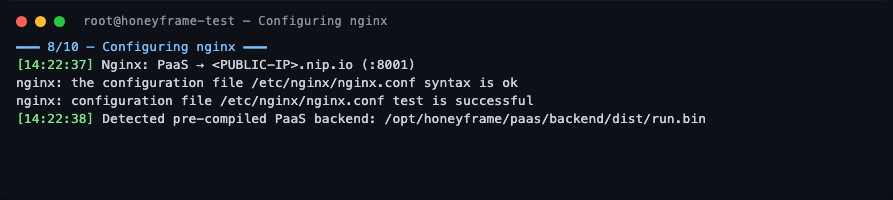
Stage 8 — nginx
The PaaS domain is wired up as a reverse proxy to 127.0.0.1:8001. nginx -t is run before reload — if it fails the install aborts before touching live config.
Stage 9 — systemd
hub-platform.service is installed and started. If you installed from a tarball (vs. from git), hub-scheduler.service and dbt-run.timer are gracefully skipped — see "What's not in the tarball" below.

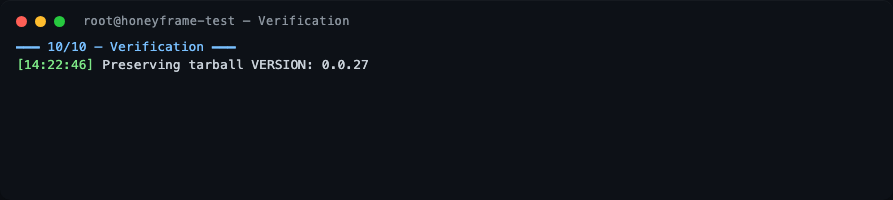
Stage 10 — Verification
The script preserves the tarball VERSION file at /opt/honeyframe/VERSION and prints a Setup Complete banner.
Setup complete
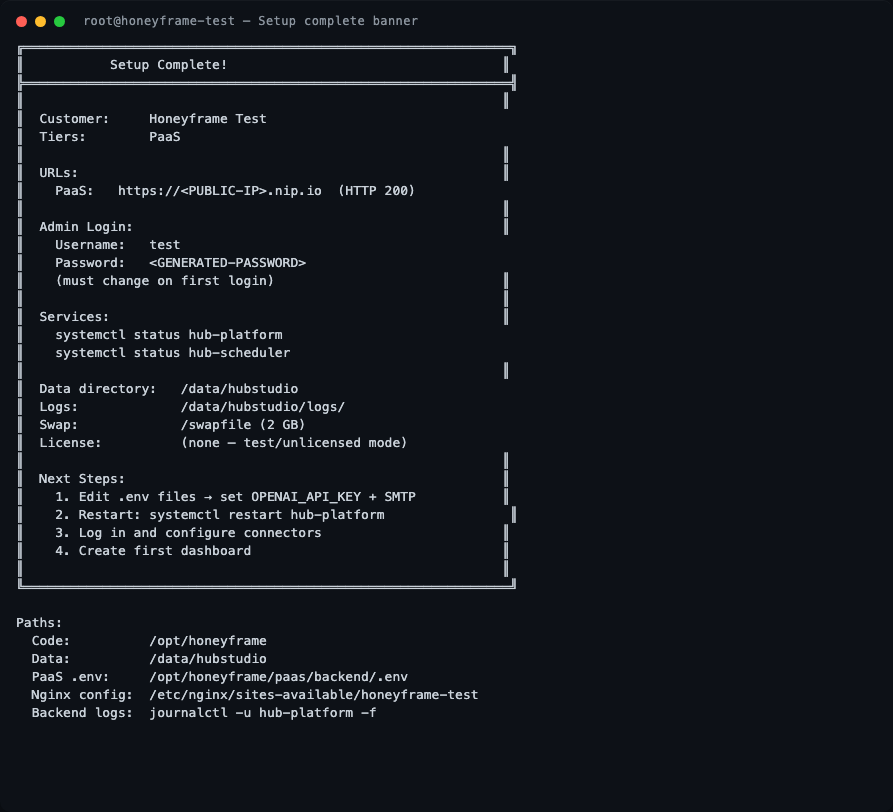
The banner contains everything you need: the public URL, the generated admin credentials (one-time — captured before the terminal scrolls), the systemd unit names to watch, the data directory, and the path to the per-service .env files.
Verifying the install
These are the actual outputs from the v0.0.27 verification run on the test server, ~24 minutes after Setup Complete!:
Confirm the version pinned to disk
The tarball writes a VERSION file you can check at any time:

Service status
systemctl status hub-platform
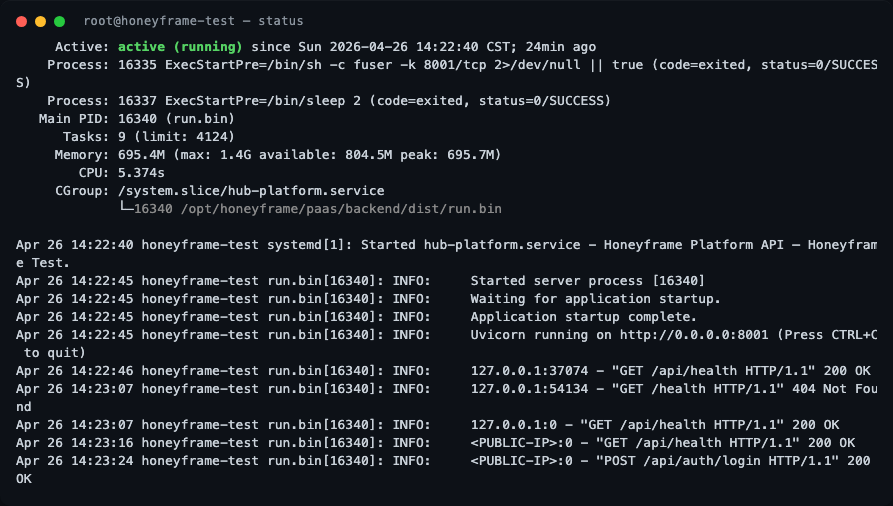
What to look for:
Active: active (running)(green) — the service is up.Main PIDfollowed by(run.bin)— confirms the compiled Nuitka binary is serving, not a Python interpreter fallback.- Memory line shows
peak: ~700Magainst amax: 1.4Glimit — the systemdMemoryMax=1500Mcap is working as intended. - The recent journal lines show the FastAPI startup sequence (
Uvicorn running on http://0.0.0.0:8001) and a successfulPOST /api/auth/login HTTP/1.1 200 OK— proof the login round-trip works end-to-end.
Healthcheck
curl -s -o /dev/null -w "HTTP %{http_code}  %{time_total}s total\n" \
    http://localhost:8001/api/health

A healthy v0.0.27 install responds in single-digit milliseconds. If you get HTTP 502, nginx is up but the backend isn't — check journalctl -u hub-platform -n 30.
Active hub-* units
systemctl list-units 'hub-*'
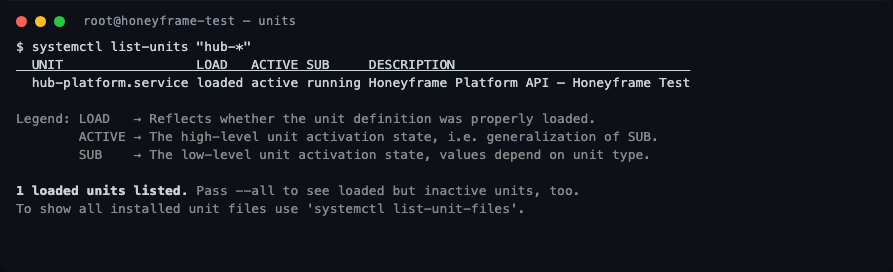
On a paas-only install you should see exactly one unit: hub-platform.service. If you enabled the saas or iaas tier, the corresponding units will appear here too.
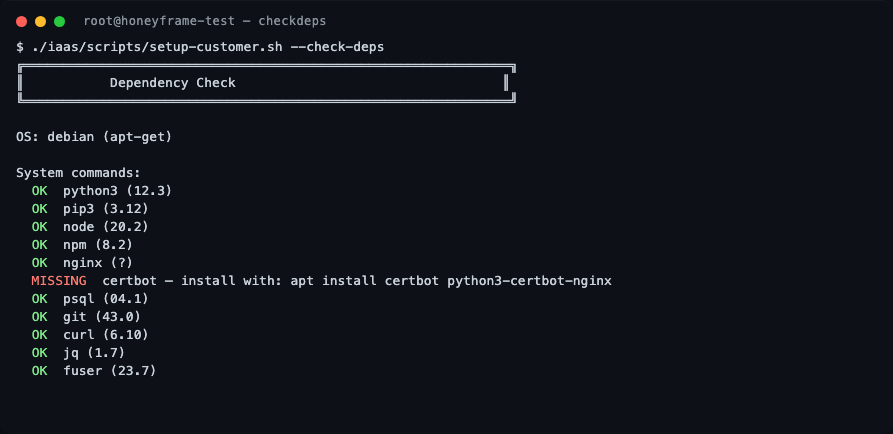
What --check-deps reports
Re-running the dependency check on a freshly installed box is the fastest way to confirm what the script picks up:
./iaas/scripts/setup-customer.sh --check-deps
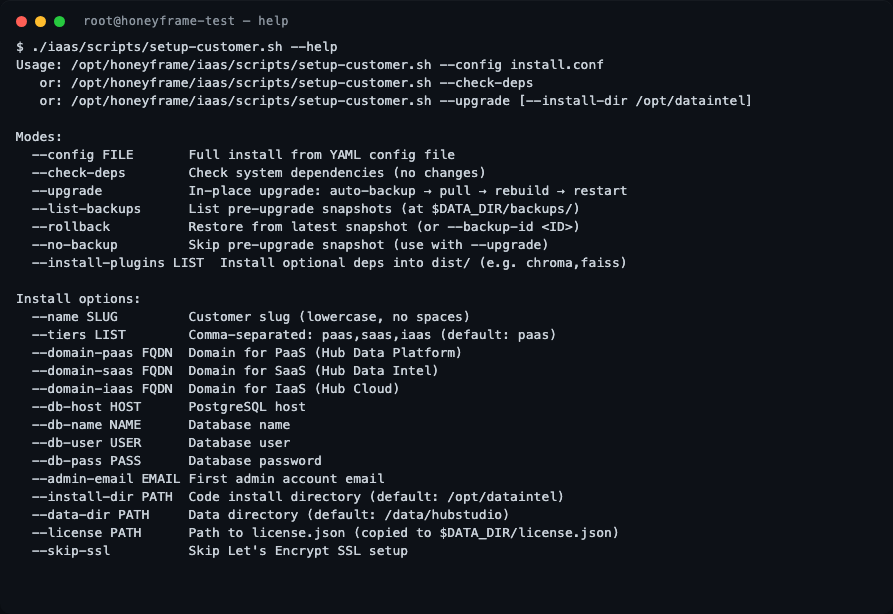
All setup-customer.sh flags
For reference, the full flag list — useful when scripting a non-interactive install or debugging an upgrade:
What's not in the tarball
The compiled tarball deliberately omits the Python source for paas/scripts/scheduler.py and paas/scripts/dbt_wrapper.py (stripped post-Nuitka build). On a tarball install, setup-customer.sh gracefully skips:
hub-scheduler.service— needed for CDC syncs and scheduled refreshesdbt-run.timer— needed for nightly dbt model runs
If you need scheduled jobs, install from git instead:
git clone https://github.com/HubStudio-id/hub-data-intelligence.git /opt/honeyframe
cd /opt/honeyframe
./iaas/scripts/setup-customer.sh --config install.conf
Logging in for the first time
Sign in to the URL printed in the success banner with the username and password it captured. You will be prompted to change the password immediately. After that, create your first organization and project from the UI.
What's next
- Reverse Proxy — anatomy of the nginx config the script wrote.
- TLS / Certificates — renewing certs and adding new domains.
- Custom systemd Units — overriding limits, env vars, or the run user.